The CRM Integration Add-On connects your bOnline VoIP phone system directly to your CRM, giving you click-to-call, automatic contact syncing, and in-CRM call insights. With the self-service setup in MybOnline, you can add, configure, and activate CRM integrations for supported platforms in a few minutes.
Please note: This help article uses HubSpot as an example.
What you can do:Add CRM integrations directly from MybOnline.
Configure HubSpot (embedded marketplace integration).
Configure other supported CRMs such as QuickBooks, Odoo, and more.
Use your CRM and VoIP phone together without installing extra connector apps.
Add CRM integrations directly from MybOnline.
Configure HubSpot (embedded marketplace integration).
Configure other supported CRMs such as QuickBooks, Odoo, and more.
Use your CRM and VoIP phone together without installing extra connector apps.
Access the CRM Integrations page
Log in to the MybOnline portal.
Select Integrations from the left-hand menu.
You will see two integration types: Official Marketplace Integration and All Integrations (200+ CRM integrations).

Add the CRM Integration Add-On
Once you are on the Integrations page, you can locate your CRM in two ways:
Use the Search integrations bar at the top of the page.
Browse integrations using the Category dropdown.
Locate your CRM and select Add on the integration card to begin setup.

A pop-up will appear showing that the CRM is being enabled, a user selector (if you have multiple users), and a monthly pricing confirmation.
Select the user who should receive the add-on.
Tick Accept Additional Monthly Charges.
Select Accept.
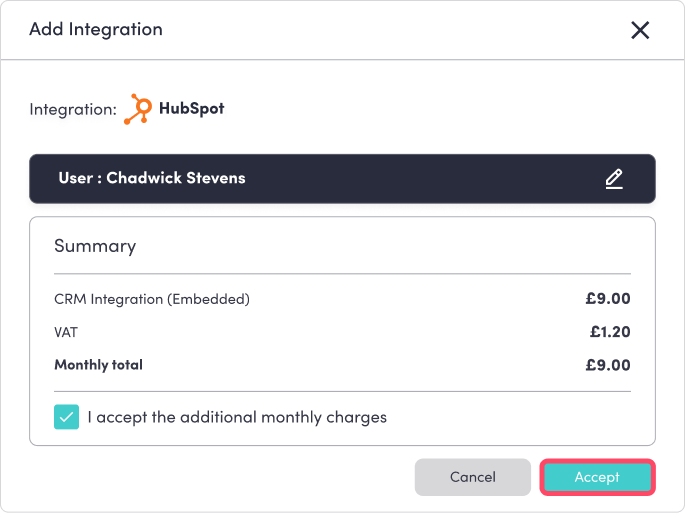
Billing for the add-on begins as soon as you accept.
Configure the integration
After adding the add-on, a configuration window opens automatically. If you close it by mistake, return to the Integrations page and select Configure.
Inside the configurator:
Your CRM is already pre-selected.
Fields are auto-filled where possible (for example, the +44 phone prefix).
Daily automatic sync is already enabled.
To complete the configuration:
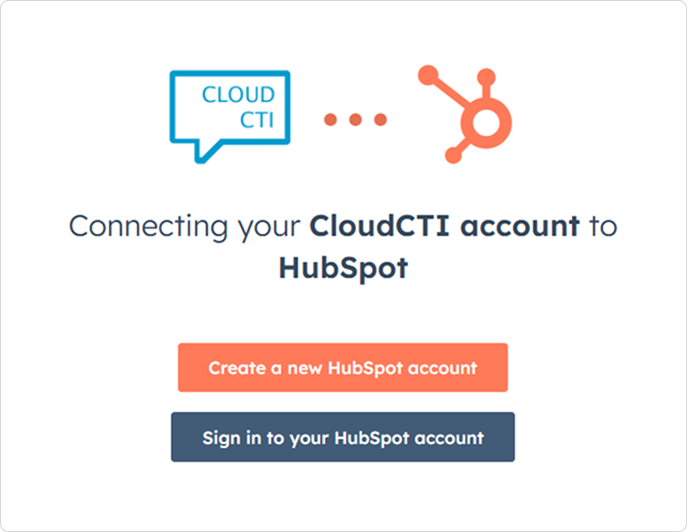
Select Connect.

Log in using your CRM credentials.
Approve the requested access permissions.
Select Next, then select Finish.
Once complete, the integration card will show Active and appear under the Active Integrations heading. You can see which users have the CRM add-on enabled by checking the small user initial icons displayed on the integration card.

Special steps for embedded integrations (HubSpot)
After the integration is active:
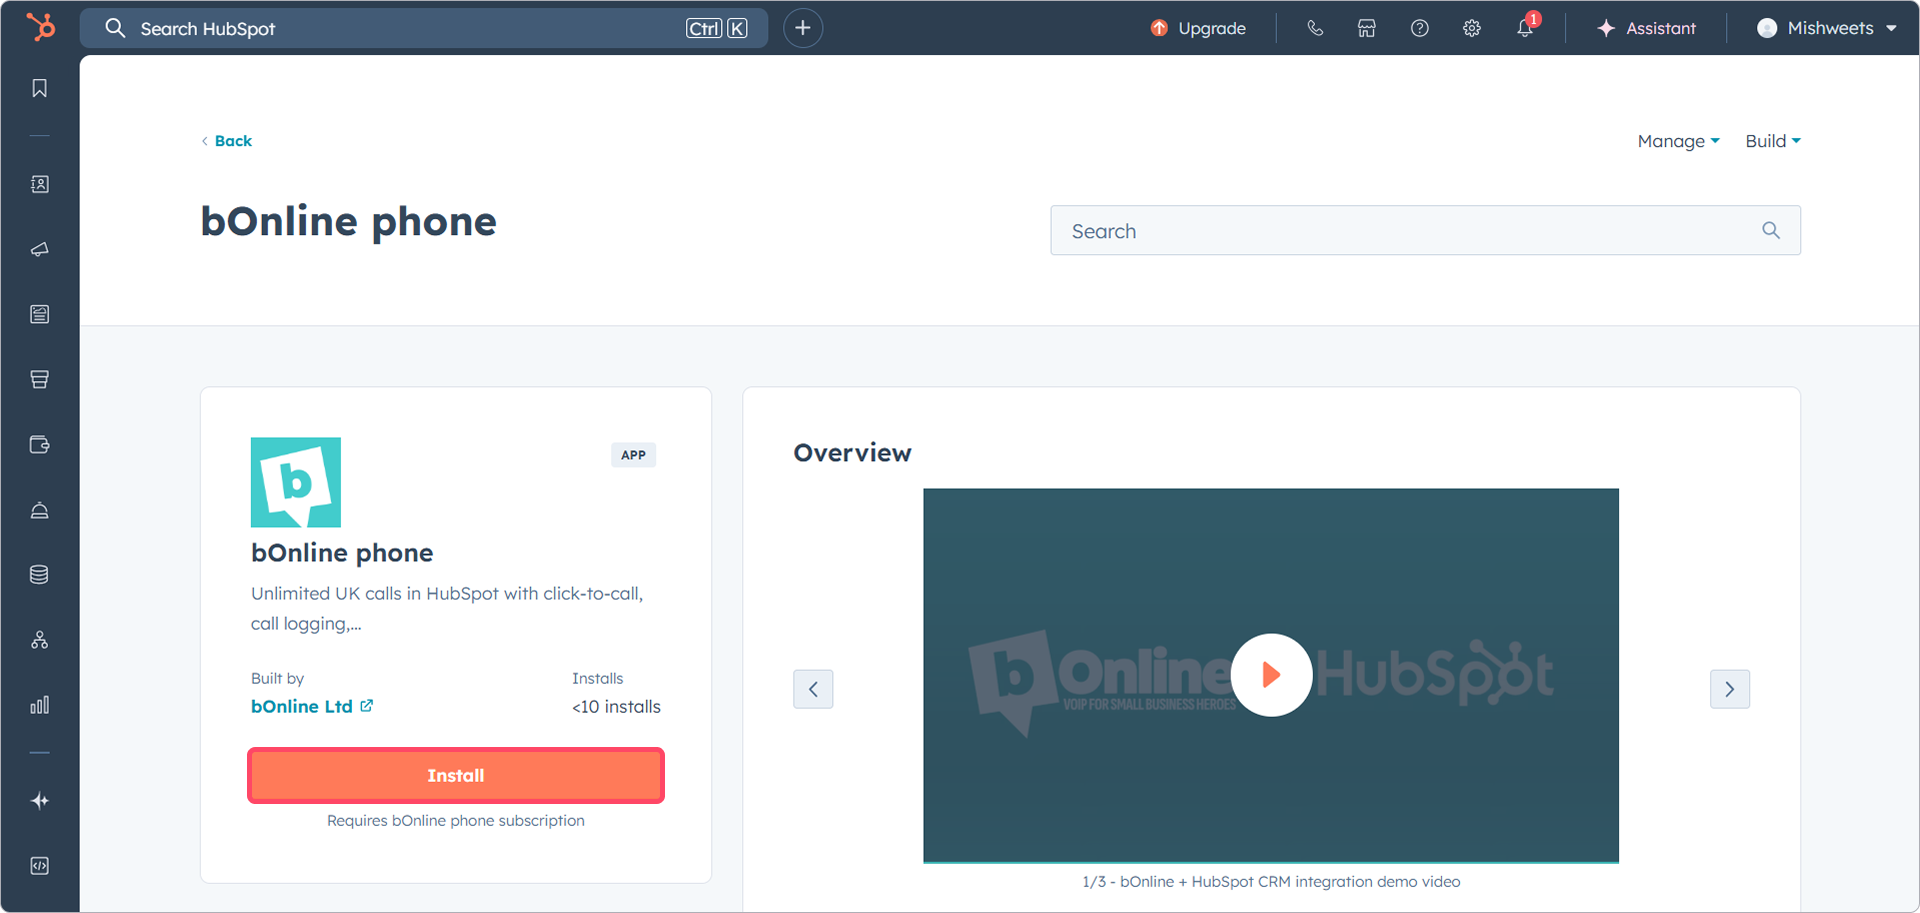
On the integration card, select Connect to Phone.

This opens the official HubSpot Marketplace listing.
Because you are already logged into HubSpot, the installation will appear instantly.
Follow the HubSpot on-screen prompts to finish pairing your VoIP phone with HubSpot.
This final step enables:
HubSpot pop-ups for inbound calls.
Call activity logging.
Full HubSpot and VoIP sync.
Configure the integration for additional users
If the CRM integration is already active, you can enable the add-on for additional users without reinstalling the integration.
Go to Integrations in the MybOnline portal.
Locate the active integration you want to configure.
Select the Add User + button on the integration card.

Enable the CRM Add-On.
Select which user(s) the add-on should be enabled for.
Confirm the changes.

Once saved, the CRM add-on will be enabled for the selected user. You can see which users have the add-on enabled by checking the user's initial icons on the integration card.

Using CRM Connect (other CRMs)
For CRMs like QuickBooks, Odoo, Zoho, and many more, once you complete the configuration window, setup is complete. No marketplace installation or extra downloads are required.
Multiple CRM support
A single user can configure multiple CRMs even though the add-on is only purchased once per user. For example:
Enable QuickBooks
Then configure Odoo
Then configure another CRM
The add-on remains tied to the user, and each CRM they configure stays available under Configure or Active depending on setup status.

Video guide
Watch the video below to see how to add and configure a CRM integration in the MybOnline portal.
Contact Us
We're always up for a chat! Live chat is available via the mybOnline sidebar or from the bottom-right corner of this page.
Please note: This is the fastest way to reach the support team.
Other Contact Options
WhatsApp
Reach the support team via WhatsApp for quick queries.
MYbOnline Portal
Log in to mybOnline and use the in-portal contact options.
Related articles
Was this article helpful?
That’s Great!
Thank you for your feedback
Sorry! We couldn't be helpful
Thank you for your feedback
Feedback sent
We appreciate your effort and will try to fix the article