This guide is applicable to all the Yealink phones.
Note: For the IP phone with different firmware versions, the web GUI may be different.
1. Log in the web page of the phone.
- Username: admin
- Password: admin
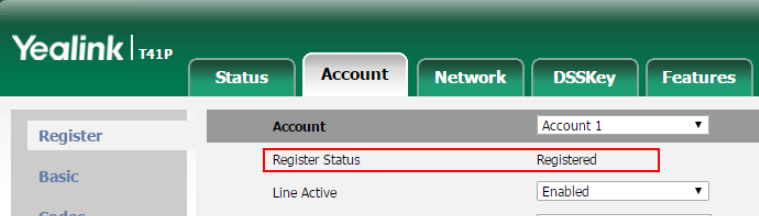
2. Click the Account tab, and choose one account to configure.

- Account: Choose one account.
- Line Active: Enabled
- Label: Set the name you want to appear on the phone screen.
- Display Name: Set the name you want to appear on the other phone's screen when calling out.
- Register Name: Fill in the extension's Register Name.
- User Name: Fill in the extension number.
- Password: Fill in the extension's Registration Password.
- Server Host: Fill in the domain or IP address of your PBX.
- Port: Fill in the same SIP port of the PBX.
- Transport: Choose the same transport protocol of your PBX.
3. Click Confirm.
If the extension is registered, you can see the Register Status shows "Registered".
Contact Us
We're always up for a chat! Live chat is available via the mybOnline sidebar or from the bottom-right corner of this page.
Other Contact Options
Reach the support team via WhatsApp for quick queries.
Log in to mybOnline and use the in-portal contact options.
Was this article helpful?
That’s Great!
Thank you for your feedback
Sorry! We couldn't be helpful
Thank you for your feedback
Feedback sent
We appreciate your effort and will try to fix the article